Token NameSymbolDecimalsTotal Supply
Prerequisites
- Basic understanding of blockchain and ERC-20 tokens.
- Installed MetaMask browser extension with AGUNG network set-up already.
- Familiarity with Remix IDE (https://remix.ethereum.org/).
- Using the OpenZeppelin library for the ERC-20 boilerplate.
- A wallet with AGUNG network PEAQ for gas fees.
Instructions
1. Open Remix IDE
- Visit Remix and create a new workspace.
- Click on “File Explorers” and select “Create a New File”.
- Name the file:
MyERC20Token.sol.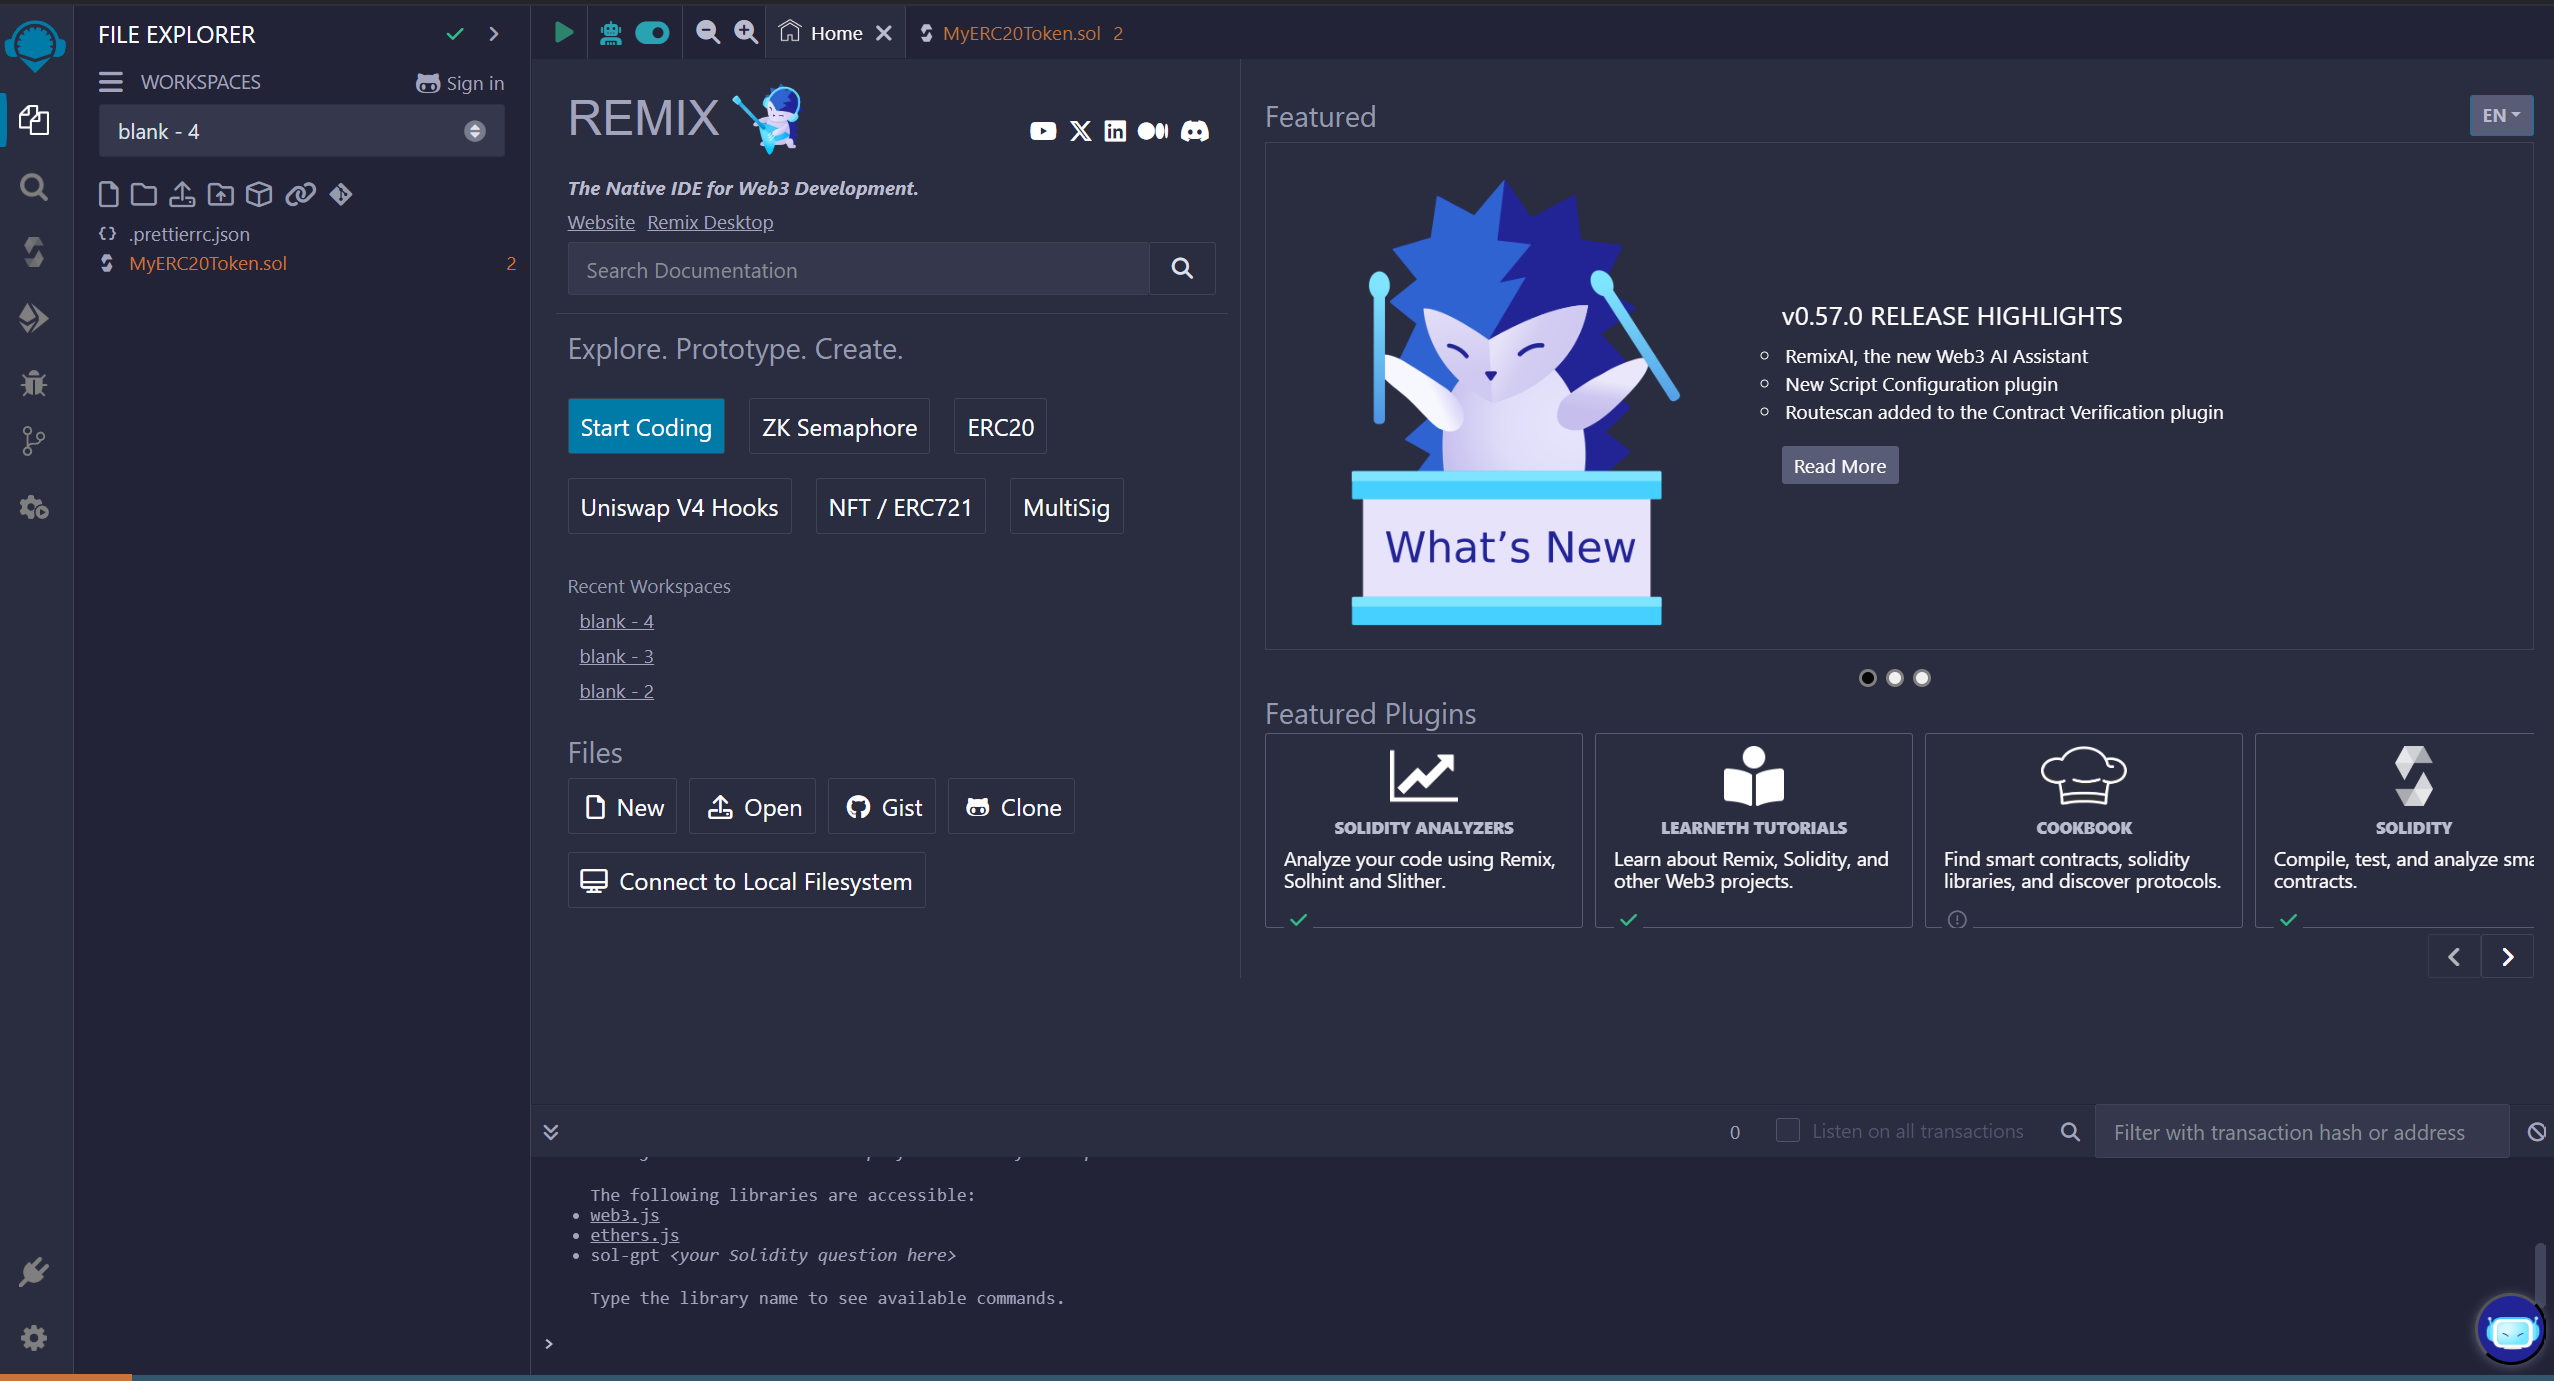
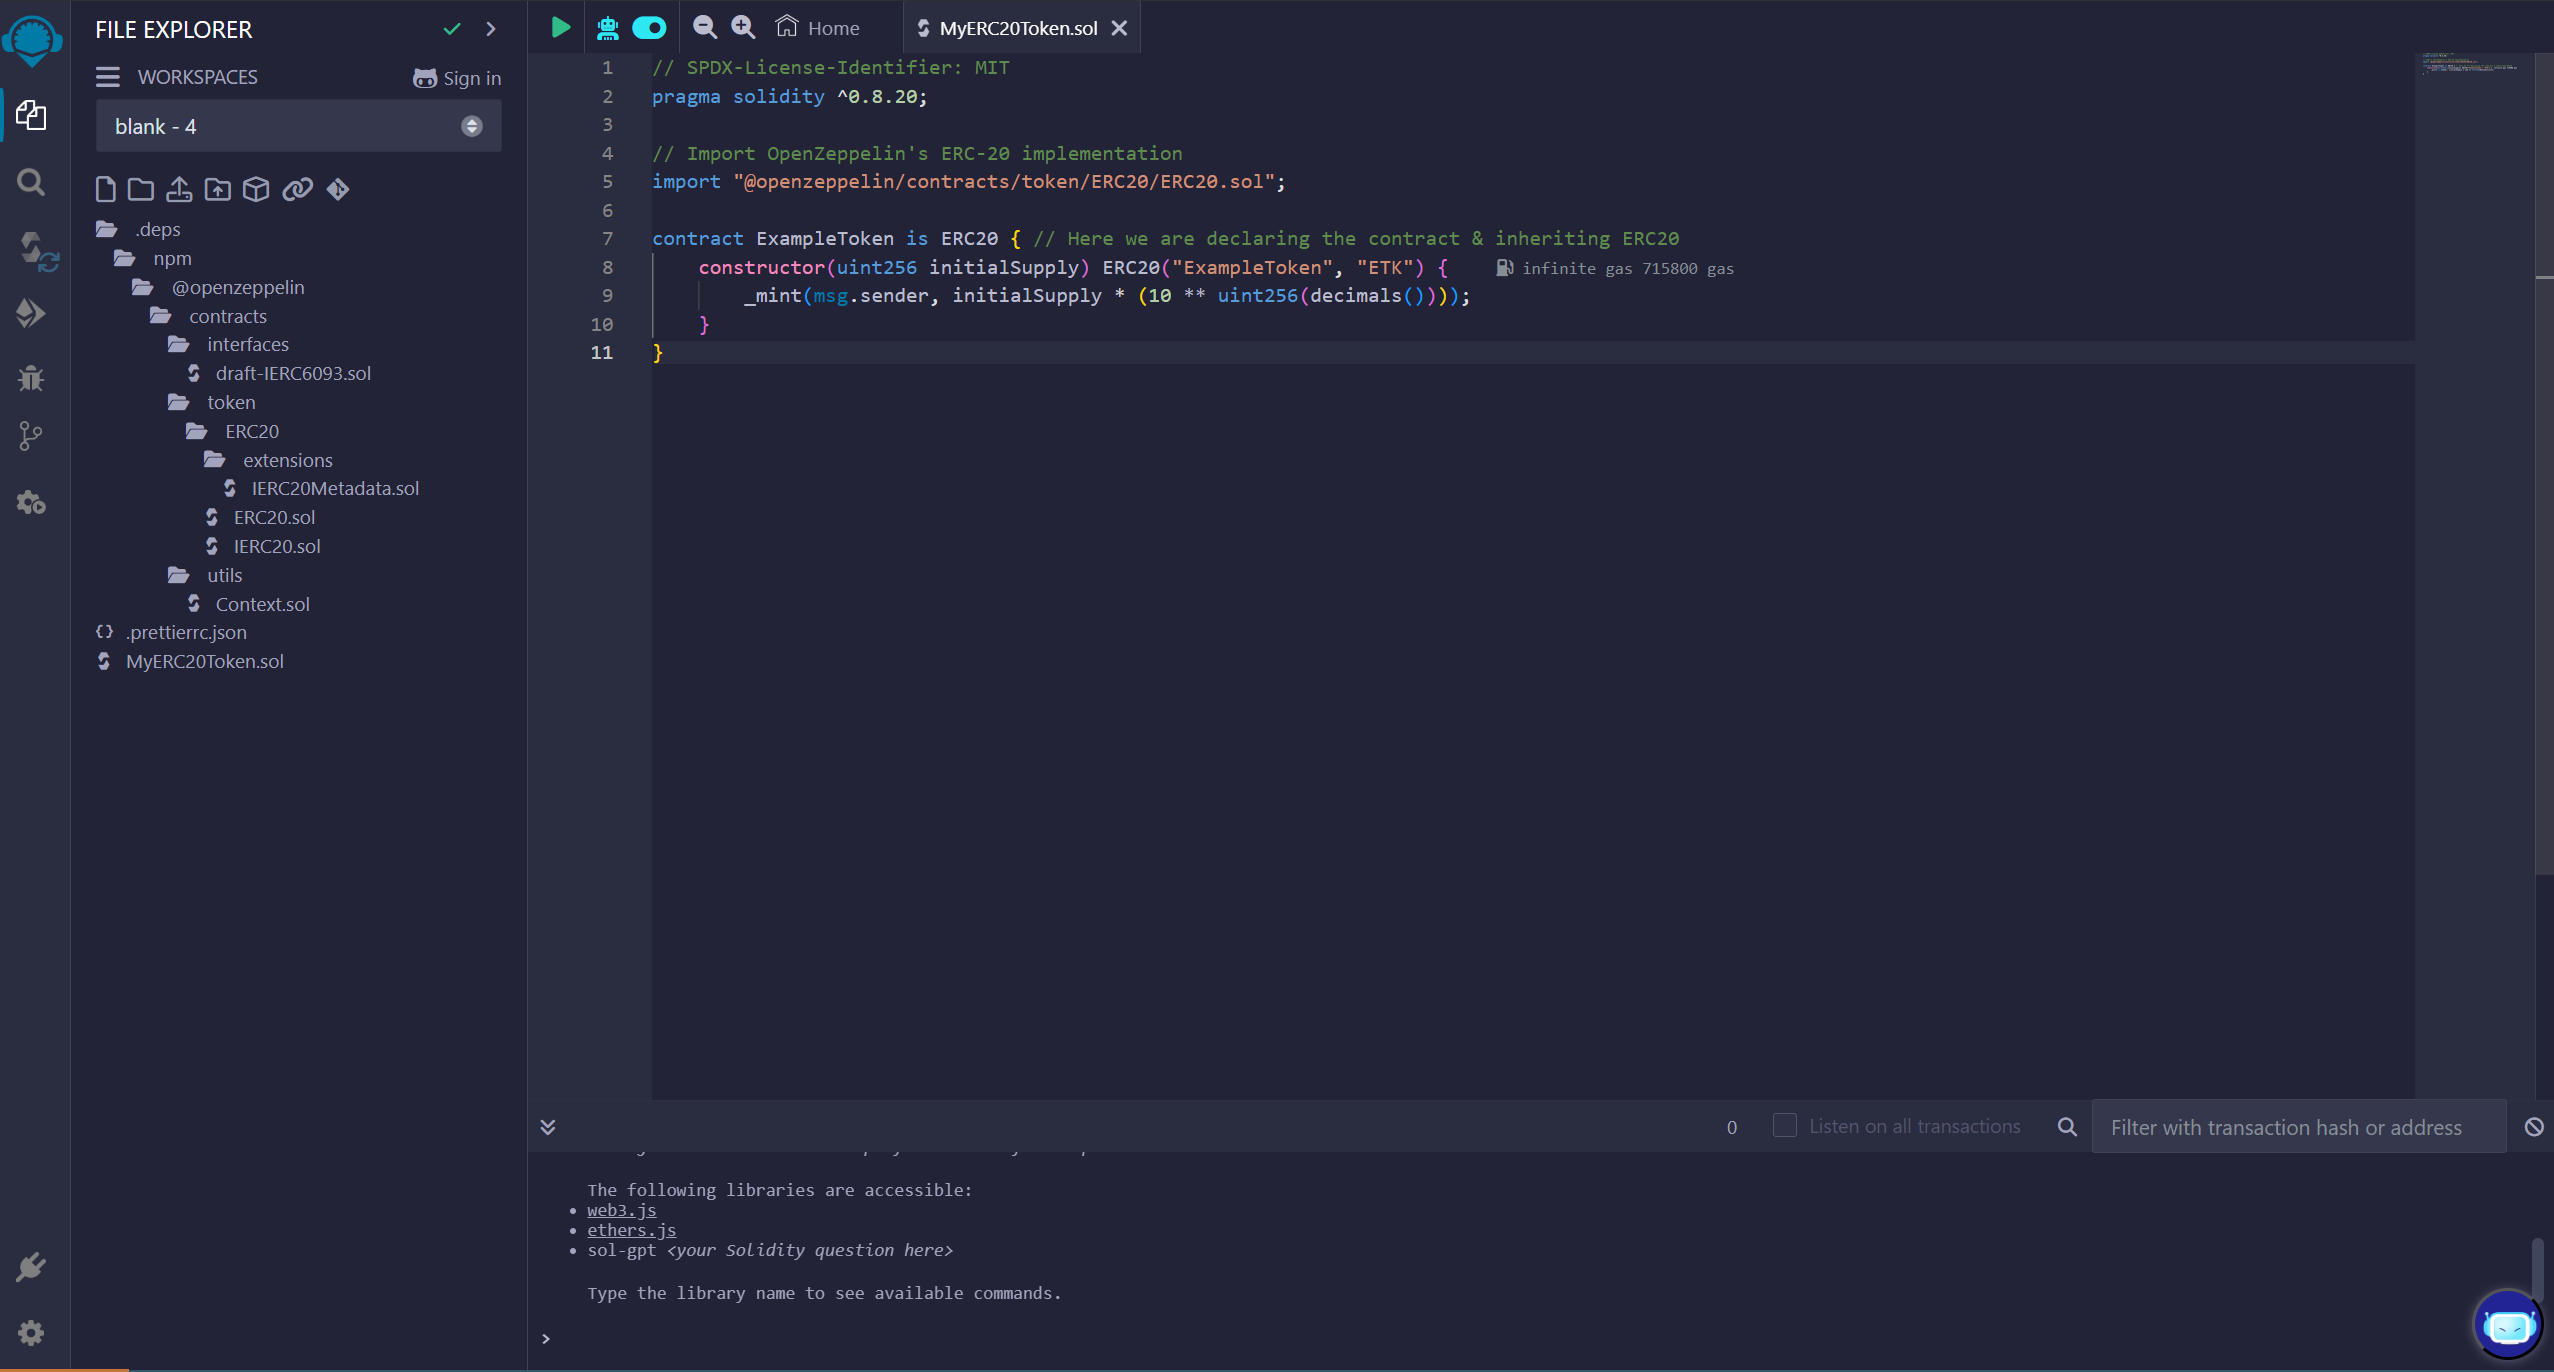
2. ERC-20 Code
Copy and paste the following boilerplate ERC-20 smart contract code into your newly created file:3. Modify Token Details
Update the following placeholders in the code:- Token Name: Replace
"MyToken"with your token’s name (e.g.,"ExampleToken"). - Symbol: Replace
"MTK"with a short symbol (e.g.,"EXT"). - Total Supply: The
initialSupply(input during deployment) defines the number of tokens created.
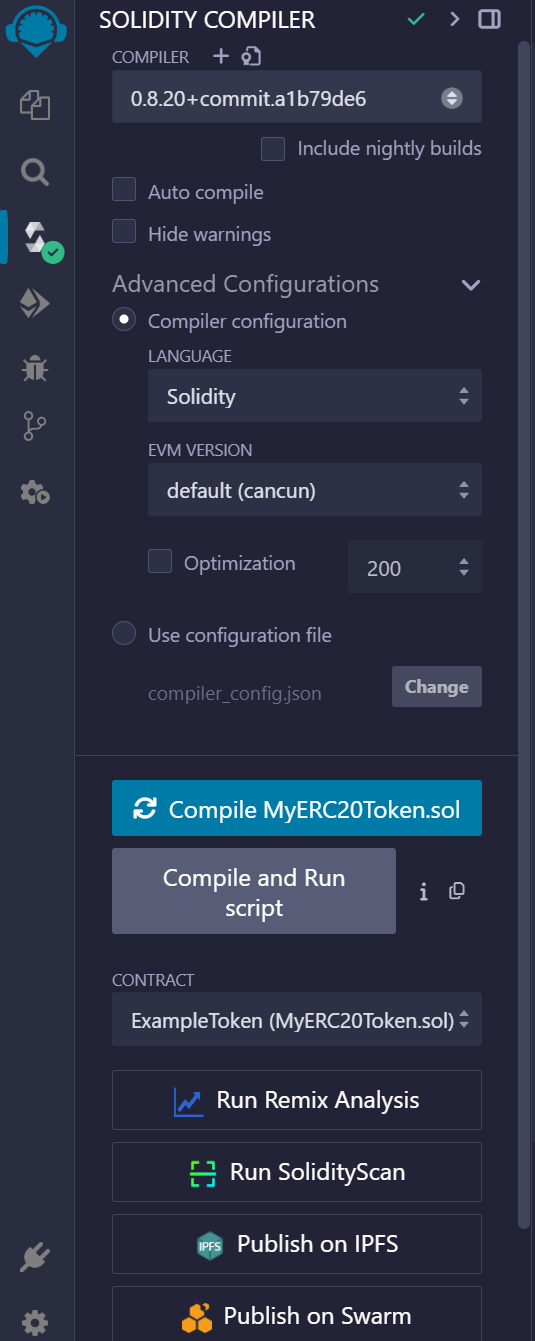
4. Compile the Contract
In the Solidity Compile tab:- Select the Solidity version (e.g.,
0.8.20+commit.a1b79de6). - Click Compile MyERC20Token.sol.
- Ensure there are no errors.
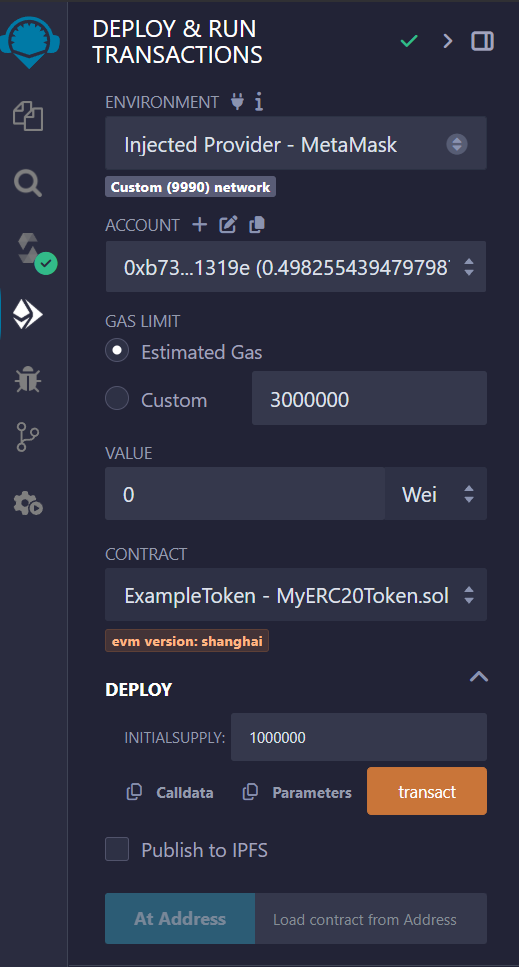
5. Deploy the Contract
- Go to the Deploy & Run Transactions tab in Remix.
- Select Injected Web3 as the environment to connect MetaMask.
- Choose your testnet wallet account in MetaMask.
- In the constructor field, enter your desired Total Supply (e.g.,
1000000for 1 Million). - Click Transact under Deploy and confirm the transaction in MetaMask.
6. Verify Deployment

- After deployment, your contract will appear under Deployed Contracts in Remix.
- Use the Read Functions (blue) to verify details like
name(),symbol(), andtotalSupply(). - You can also check your token balance using the
balanceOf()function by inputting your wallet address.